I’ve received many inquiries about how I make the wool hats that I often wear, so I’m finally doing a little behind-the-scenes look! First I’d like to say, this is not meant to be so much of a “tutorial,” as it is just an overview of the process. If you feel inspired to try millinery yourself, I recommend researching the various techniques- this is just what I came up with after my own research!
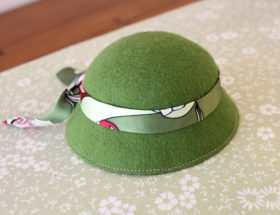
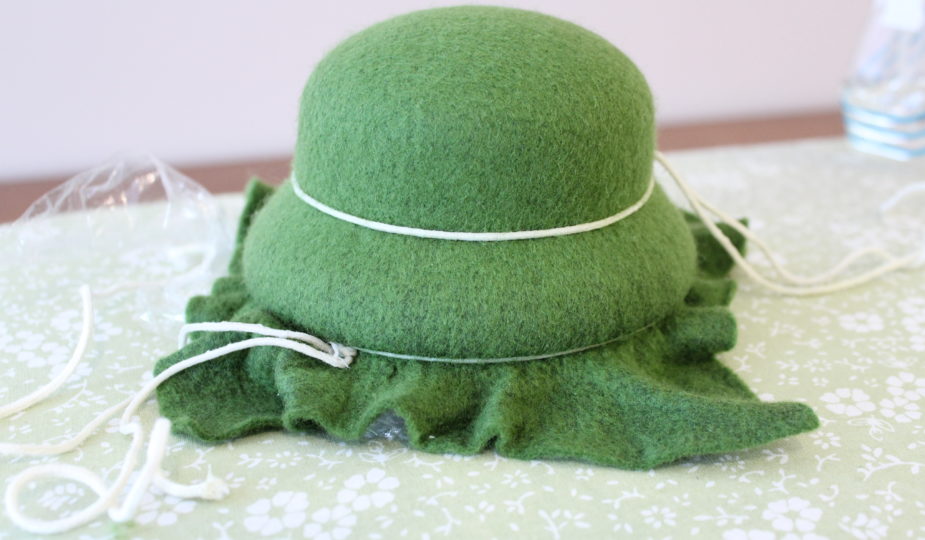
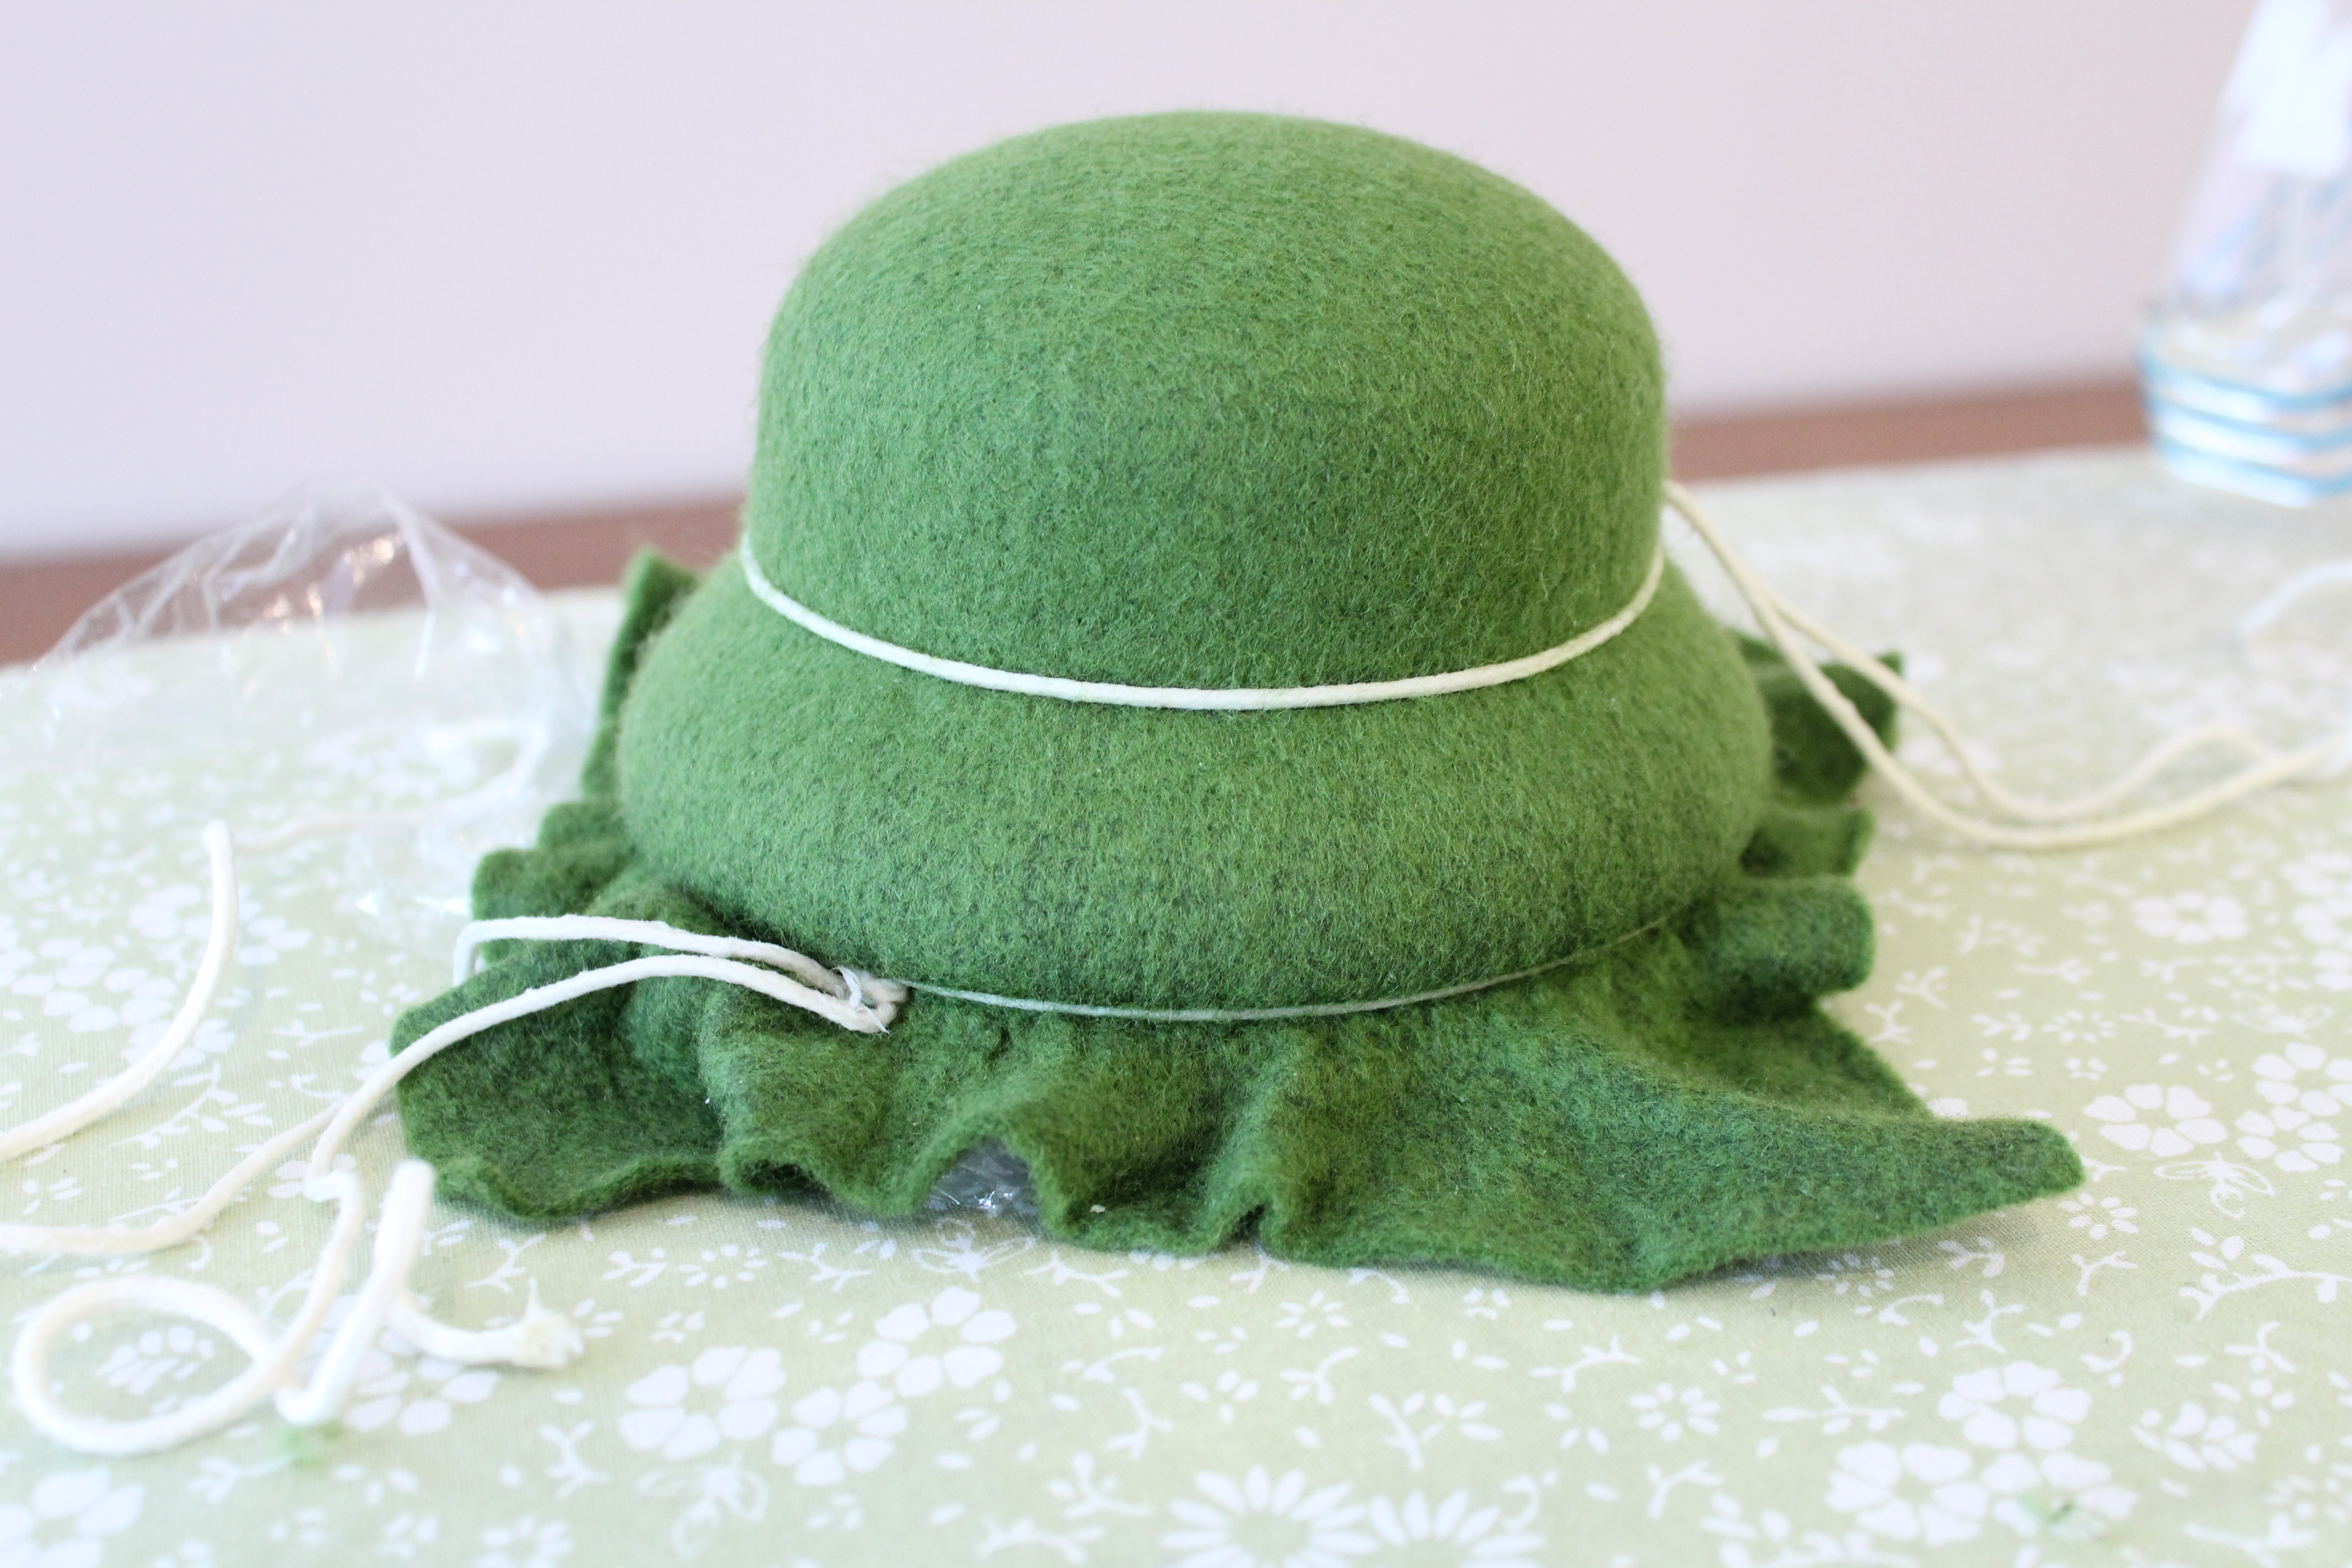
First: The supplies. I had the wooden hat block custom made to fit 18″ girls just right, plus it has interchangeable crowns and brims so I can create different styles (this one is going to be a cloche). I also need: plastic wrap to cover and protect the wood, 2 cords tied with slip knots, a piece of wool felt, water, a steam iron, and felt stiffener solution. The ribbon is a special millinery ribbon that can be pressed into a curve, which means it can be used to trim the edge of a hat if desired. I also use it to create a band inside the hat to keep it fitting just right.

The wool is soaked in soapy water to allow the fibers to stretch, and using the steam from the iron (and every bit of those arm muscles), the wool is stretched until it fits tightly over the form.

The cords are used to keep the felt tightly around the form. Then, (the hardest part), we have to wait until it is completely dry, which is usually overnight.
Click HERE for Part 2!